Quality inspection scene display
- Share
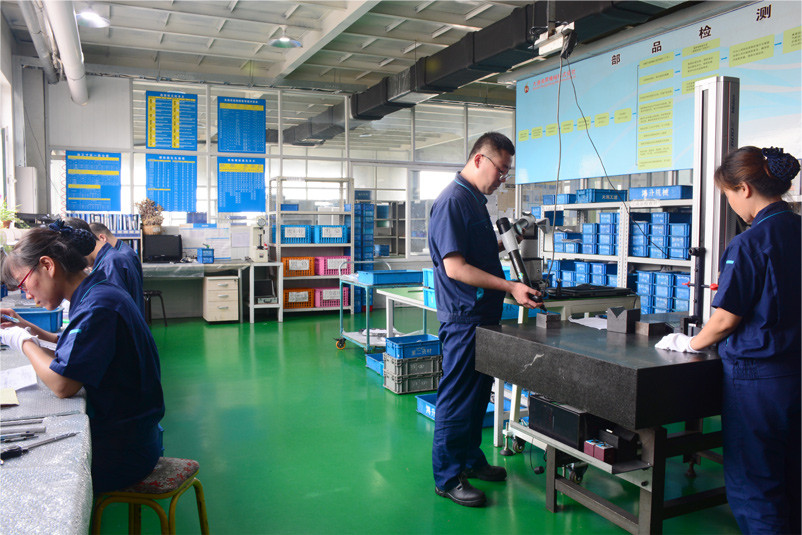
Inspection room overview
The semi-finished products prepared for surface treatment, the machining service personnel will test the parts and finished product in the quality inspection room
Preparation before quality inspection:1. Check whether all the information in the drawing is correct before testing 2.Calibration gage before test 3.Clean the surface of the part before testing.
Complete inspection shall be conducted according to the dimensions marked on the drawing.The qualified products will go to the next procedure. If the unqualified products are detected, the quality inspector will fill in the ticket of defective products, and the defective products will be repaired or abandoned and rebuilt.
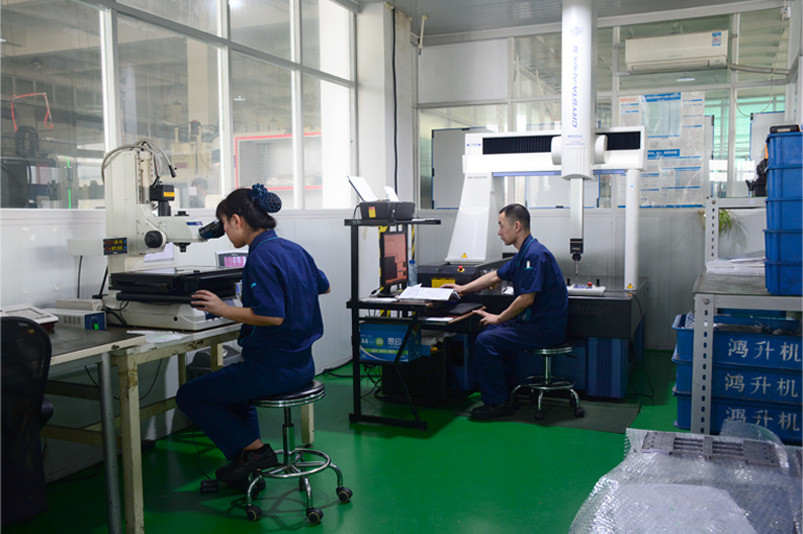
CMM room overview
CMM room has CMM, tool microscope and other precision machining parts detection equipment, the indoor temperature control should be more strict.All the workpieces need to be placed to 22-24 degrees Celsius before detection.The testing personnel should be trained and qualified before operating the testing equipment.
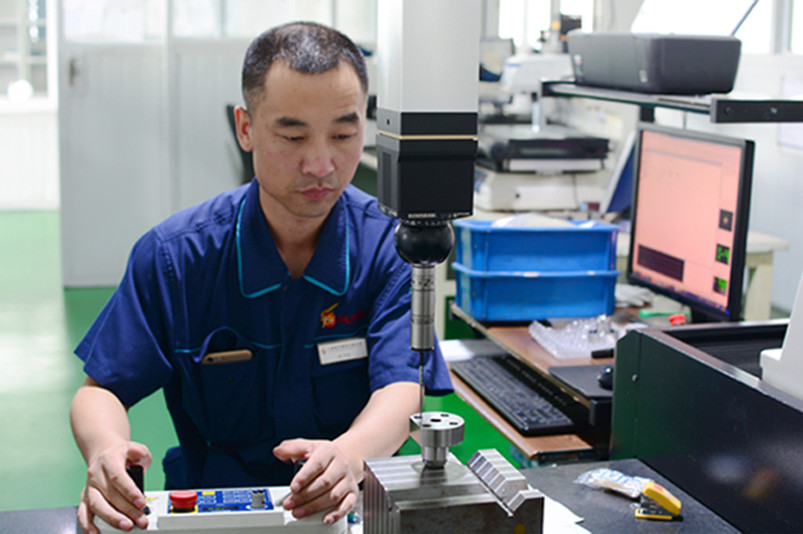
Use of Automatic three - dimensional measuring machine
The workpiece with complex shape, large volume and strict tolerance needs to be measured by three-coordinate detecto.Mitutoyo 7610 can detect the workpiece below the external size of 700*1000*600.The theoretical detection accuracy can reach 0.001mm.
(in the figure, the tester is using the coordinate detection workpiece)
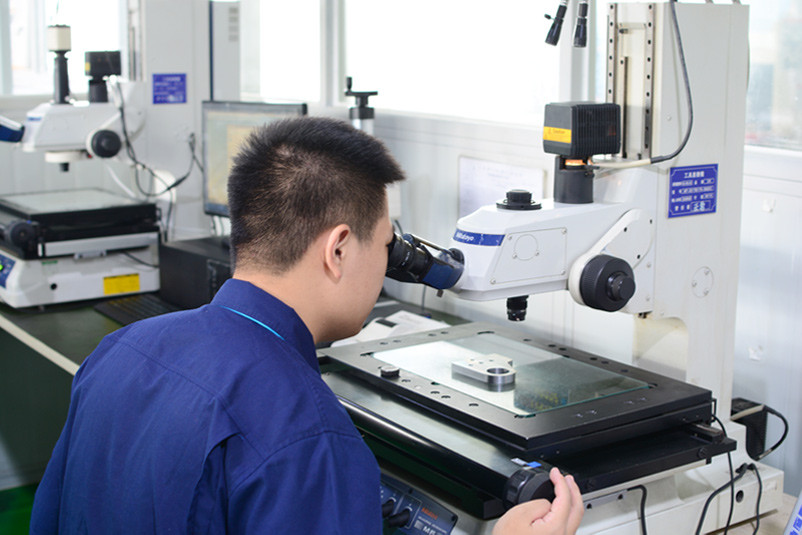
Using of Tool Microscope
Making smaller, customized service workpieces, dimensional measurements are usually made on a 2D plane. For example, measuring the aperture and hole spacing with the size of around φ1mm, the position where the gauge can not touched, and the relatively weak measurement contact surface. The product local details can be enlarged by using the tool microscope for an accurate measurements.
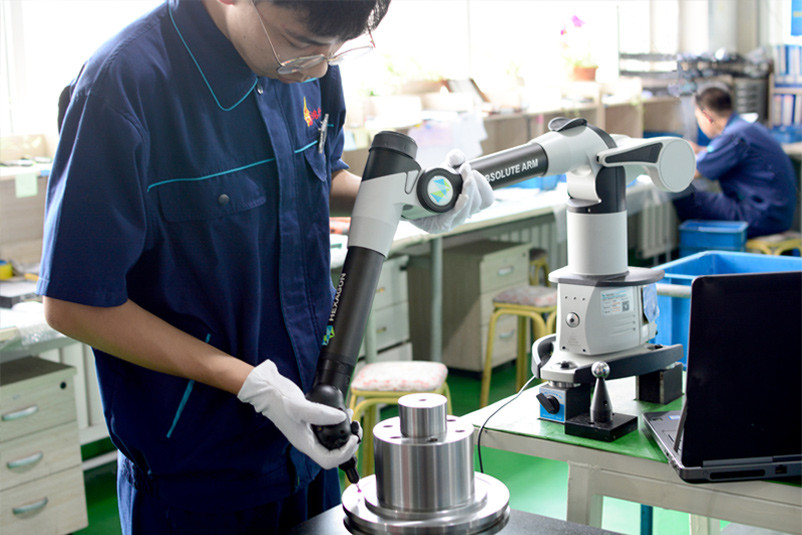
Using of CMM Multi-Joint Arm
Measurements are made for workpieces that are inconvenient to move, or for workpieces that are not being reassembled on the equipment. When there is a similar product, the measuring arm can be moved and used as long as it is fixed on a stable surface and calibrated. The function is similar to the three-coordinate detector, but it is more flexible.
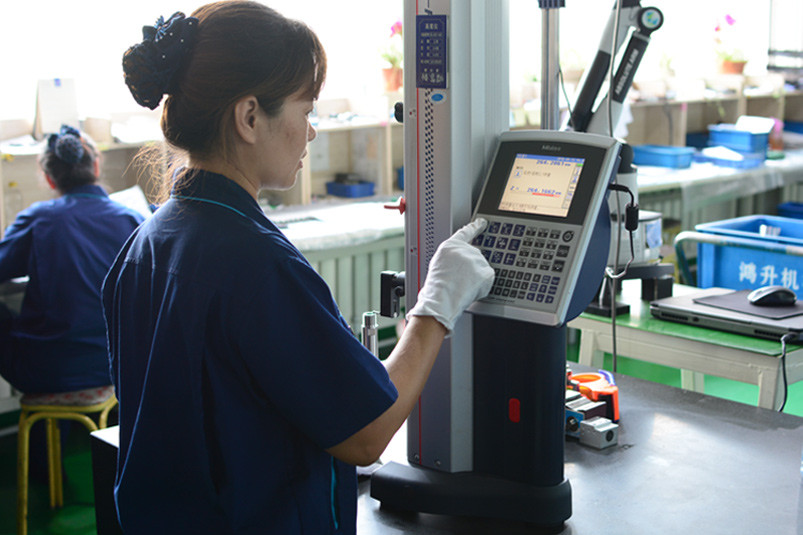
Use of high precision automatic measuring machine
Common tools for inspection and final inspection, easy to operate。Taking the marble platform as the benchmark,It is usually used to measure the height of the workpiece, the overall dimensions, the dimensions between the surface and the surface, and the dimensions between the center and the surface.The precision is about 0.005-0.01mm。
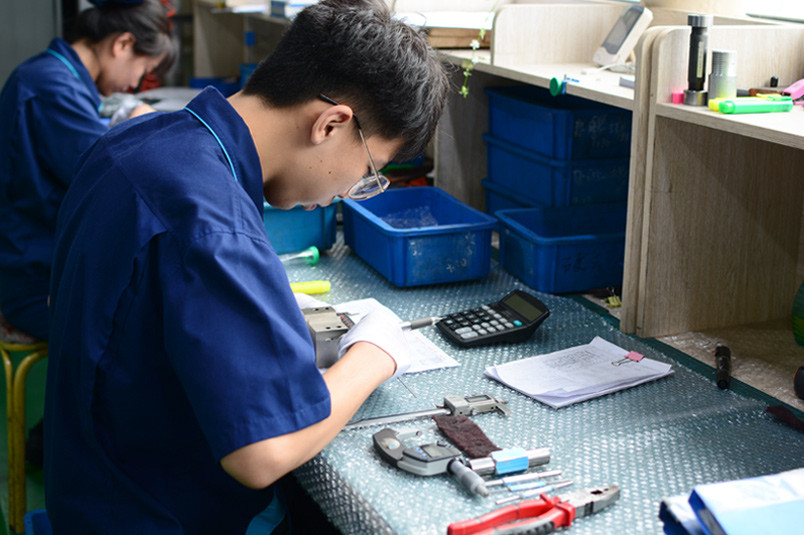
Using of Ordinary Measuring Implement
The most common test method at work. The measuring tool includes a micrometer, an inner diameter micrometer, a digital caliper, a depth gauge, a through stop gauge, a feeler gauge, a gauge block, and the like.
After the test personnel get the product to be inspected, they will conduct a full inspection according to the requirements of the drawings. After the test is passed, they will be covered with their own name. Finally, the inspection drawings with the name of the inspector will be delivered to the customer with the product in order to trace the quality of the product.
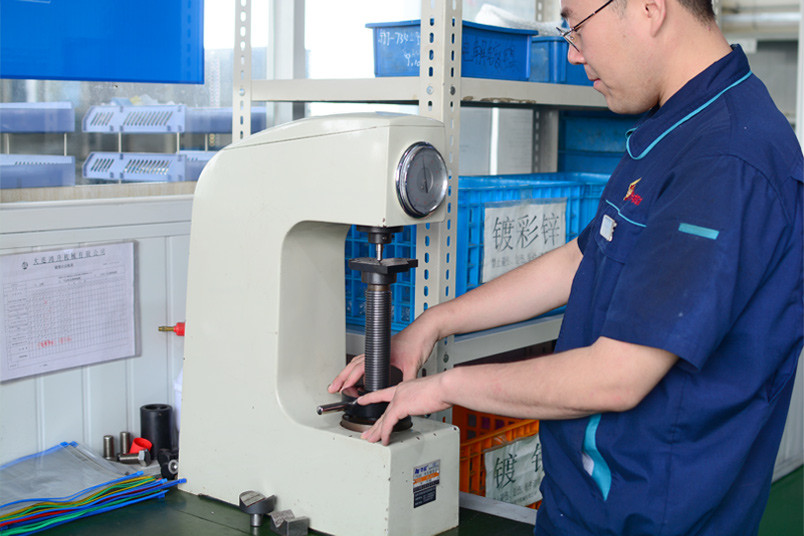
Rockwell hardness tester
Hardness testing is an important part of product testing.
According to the customer's processing requirements, if the product need to heat treatment.We will arrange the heat treatment outsourcing factory for processing.The products after heat treatment should be sent to the quality inspection room for hardness test.The next step of the process can not be carried out until the product is qualified.
(in the figure, the quality inspector is testing the hardness.)