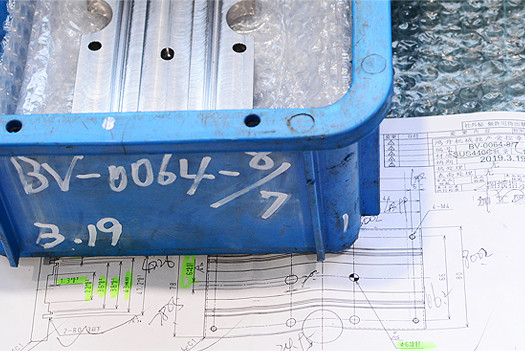
Quality inspection process display
- Share
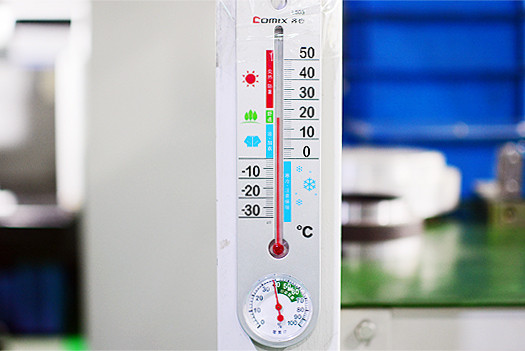
Temperature control is between 18 and 22 degree in our inspection room.
In order to ensure the accuracy of the inspection, the parts should be placed in the thermostat inspection room for more than four hours before the checking.
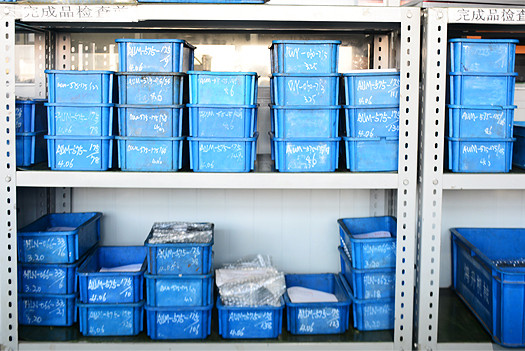
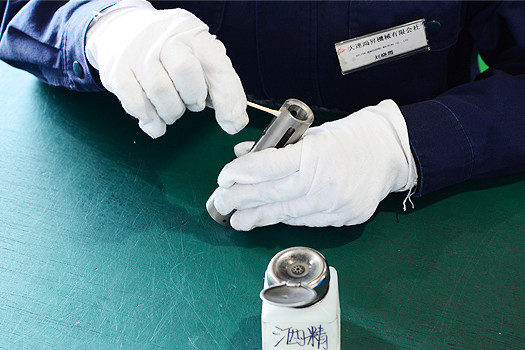
The parts should be cleaned up before inspection.(in order to ensure the parts to be measured accurately.)
First,quality inspection personnel will confirm whether the parts are consistent with the drawing or not,then determine the drawing is to be used the third angle projection or the first angle projection for testing.
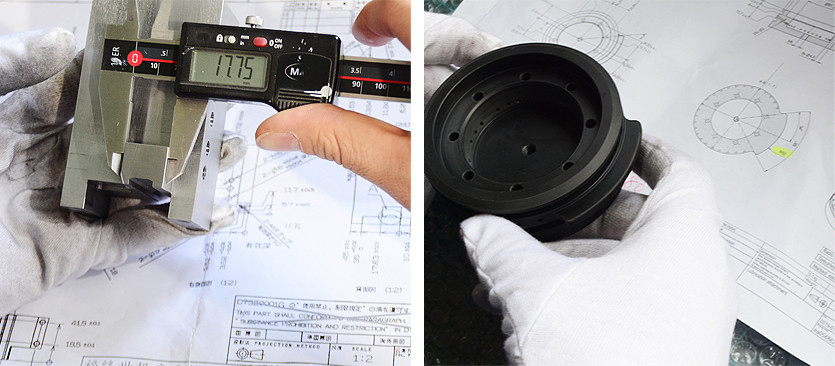
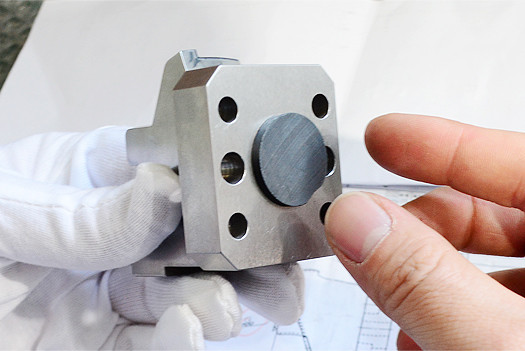
Confirm whether the material of the parts under inspection is consistent with the drawing.(stainless steel is checked with magnet,confirm whether the parts are magnetic or not.)
Confirm the appearance of the parts, Check the surface for burrs,scratches and bruises and whether the chamfering is even or not.
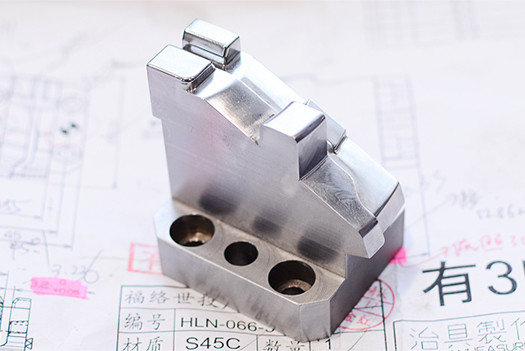
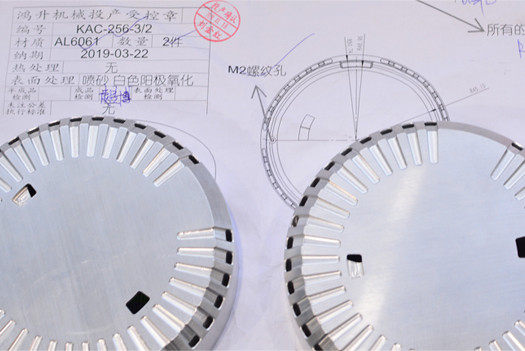
Confirm whether the quantity is consistent with the drawing.
The inspection tools firstly to be corrected before inspection,if there is no problem,the tools will be used after that.
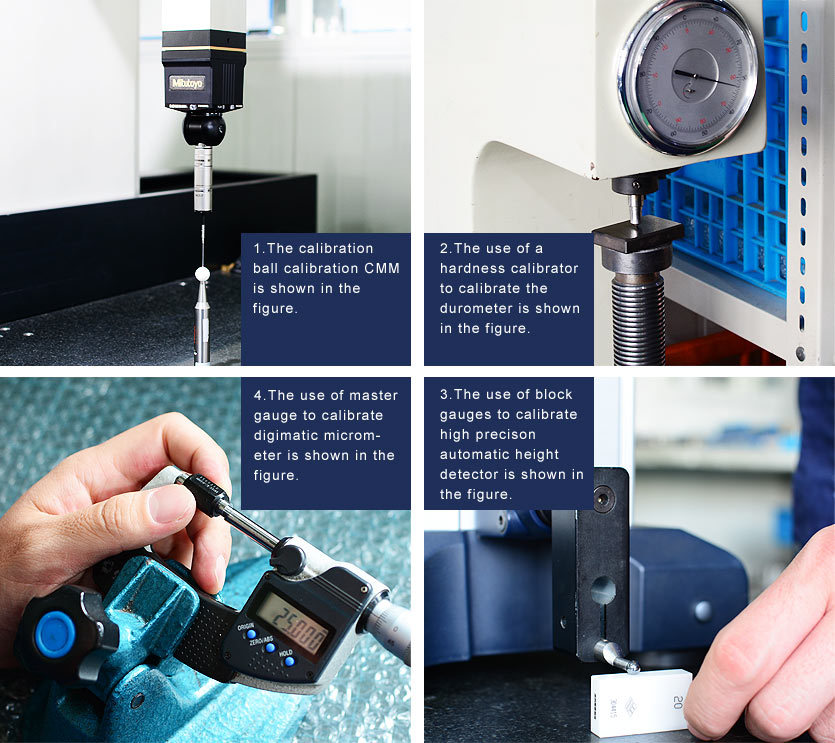
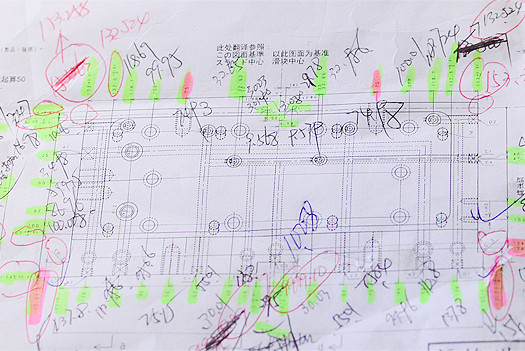
The testing principles of Hongsheng is all parts must be checked one by one for each size on the drawing, except for large quantities of parts, which will be subject to customer comments for sampling inspection.If the test item is occured rejects,which will be marked the content of rejects with red pen on the drawing.The notes and data description will be written on the rejects inspecton record sheet.
Detection of thread: First is to observe whether the thread is defective, if not, using the Go/No gauge for thread detection. Second is to test the depth and perpendicularity of the thread, to judge whether the thread is fine or coarse, straight thread or tapered thread. Block gauges and Precision Square are required for checking perpendicularity.
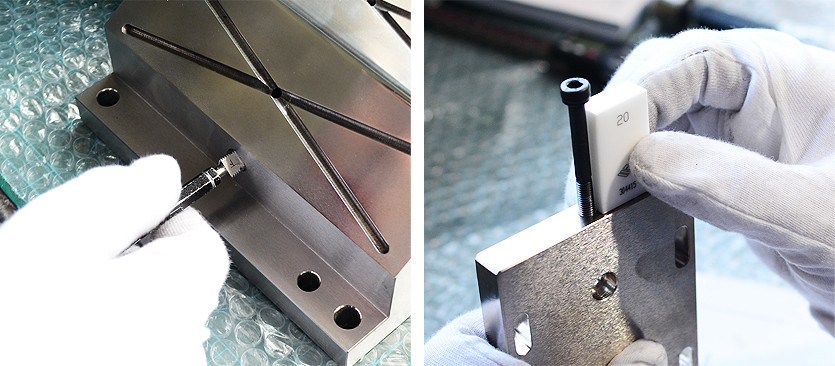
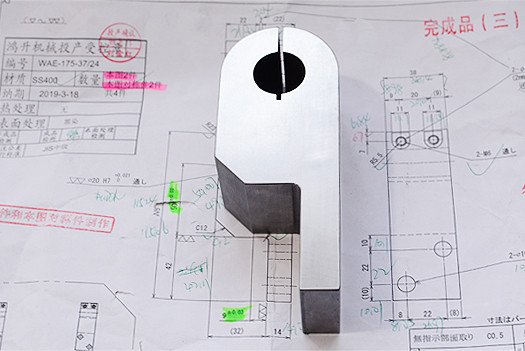
To confirm all chamfers, the notes, C Angle and R Angle marked on the drawings.
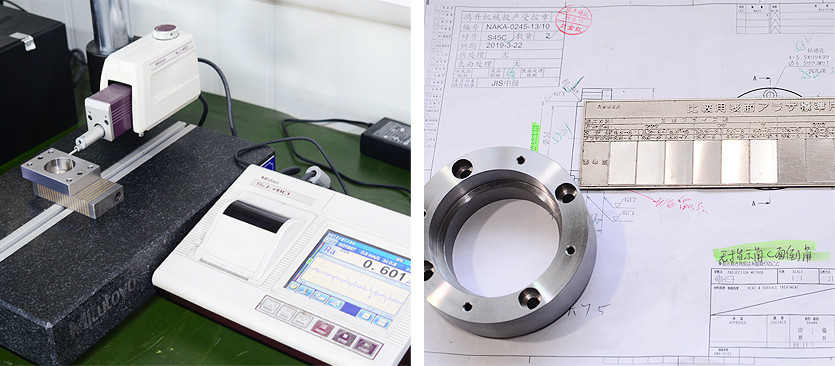
Inspection of surface roughness: The roughness recorded on the drawing is compared with the measured gauge. To check the surface that is not required on the drawing but is considered important.
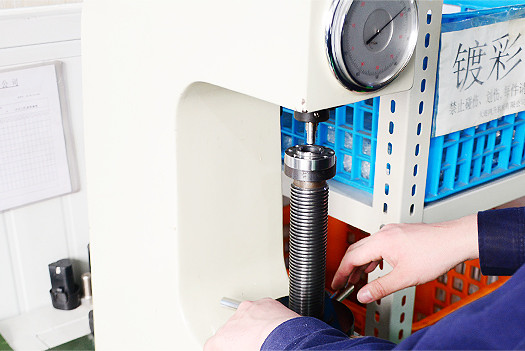
To select the surface without tolerance for measurement when using the hardness tester.The figures marked on the drawing with the hardness requirements shall be compared with the actual values to see if they are qualified.
Check notes: Concentricity, roundness, straightness, flatness, symmetry, etc. recorded on the drawing must be checked. All dimensions are tested and recorded one on one.
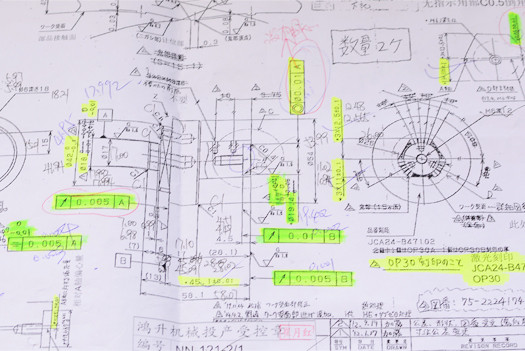
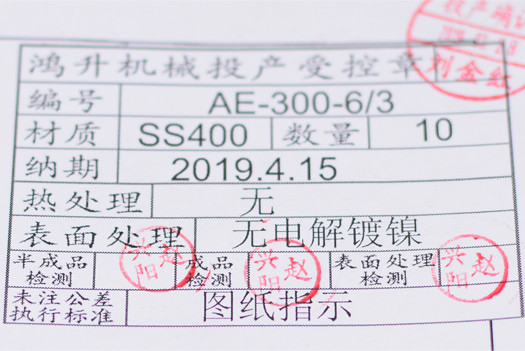
It is required to stamp the inspector's seal on the inspection of semi-finished products, finished products and surface treatment shown on drawings after checking.
To confirm whether the test size has reserved the amount of surface treatment, and pay attention to the packaging of the product during transportation before surface treatment. After packaging, the surface treatment item must be written on it. To put the qualified products into the case in which parts are to be done surface treatment, meanwhile, the drawings are puted into the folder with corresponding requirements.
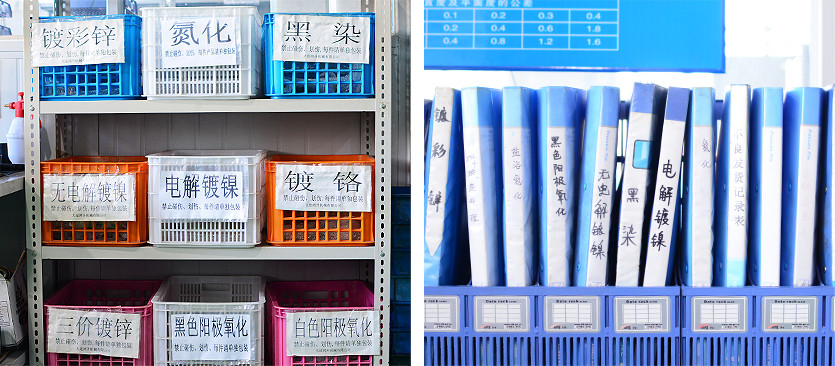
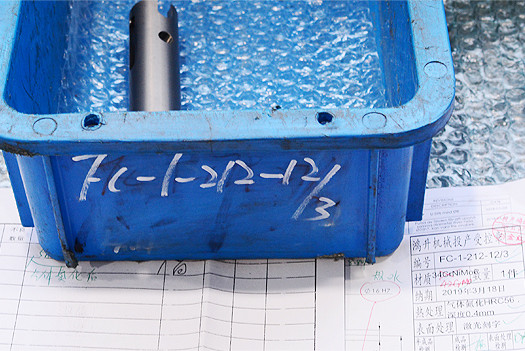
To start secondary inspection of tolerance holes and surface appearance inspection after surface treatment. If there is no other issues, put the drawings and products together into the box with labelled part number, and then transfer the box and test report to package room.
To be sure the serial number on the box is consistent with the product at the pre-packaging stage. Under the the circumstances of inconsistancy, to modify correct number on the outside of the box and other details.
